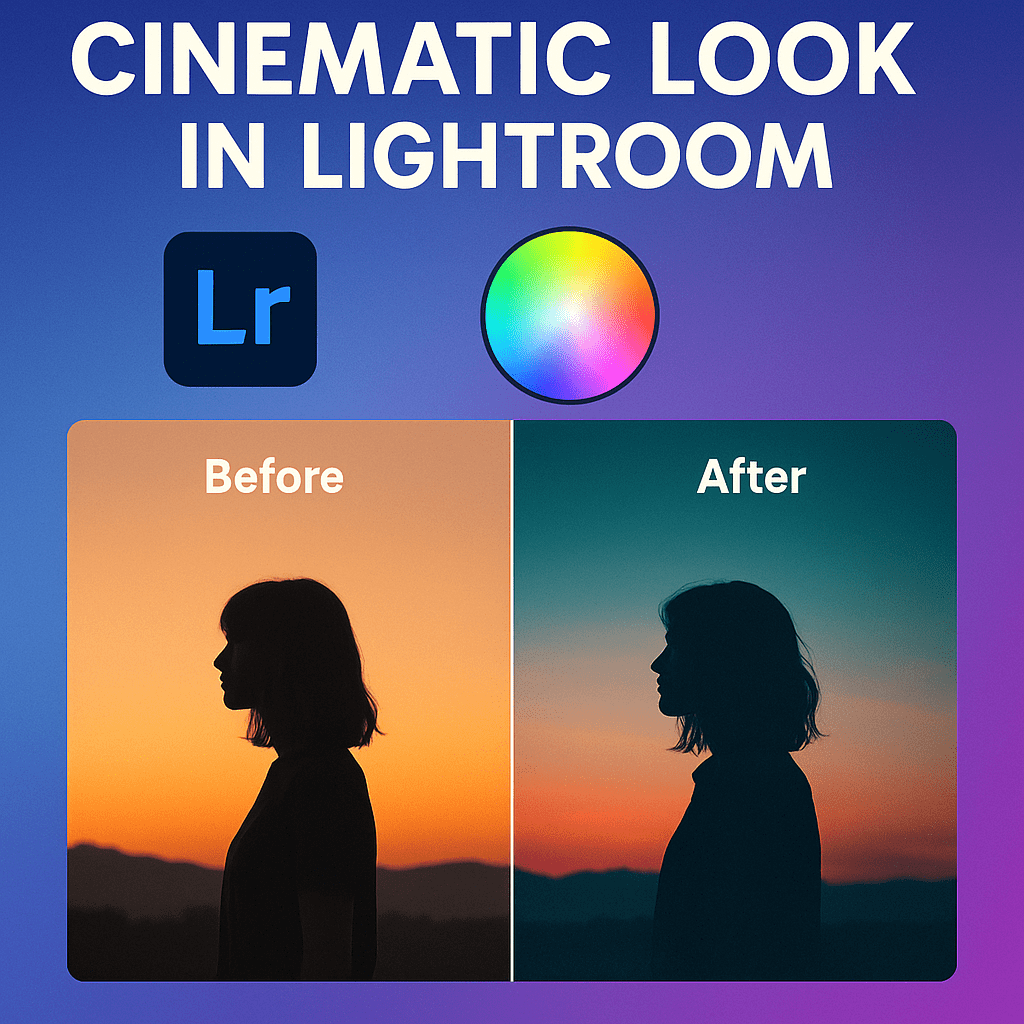
Color grading in Lightroom is a powerful way to transform the mood of your images. By adjusting tones, hues, and saturation, you can create cinematic styles that make your photos look like stills from a movie.
What is Color Grading in Lightroom?
Color grading is the process of applying colors to highlights, midtones, and shadows. Unlike simple color correction, which fixes problems, grading is about creating style and atmosphere.
Where to Find Color Grading Tools
Lightroom’s Color Grading Panel (formerly Split Toning) lets you adjust:
- Shadows → Add depth with cooler or warmer tones.
- Midtones → Control the general look and feel of your photo.
- Highlights → Enhance brightness and contrast with subtle color shifts.
You can also fine-tune using Blending (how tones mix) and Balance (which tones dominate).
Cinematic Color Grading Tips
- Teal & Orange Look
Add teal to shadows and orange to highlights for the classic Hollywood blockbuster effect. - Moody Blues
Add blue tones to shadows and desaturate midtones for a dark, atmospheric feel. - Warm Vintage
Use warm yellows and reds in highlights with faded shadows for a retro film look. - High-Contrast Drama
Push saturation in midtones and deepen shadow colors to create bold, dramatic edits.
Workflow Example
- Open the Color Grading Panel.
- Start with Shadows → set a teal hue with low saturation.
- Move to Highlights → add a soft orange.
- Adjust Balance toward highlights for a cinematic glow.
Final Thoughts
Color grading isn’t just for professionals—it’s a creative tool anyone can master. With a few slider adjustments, Lightroom lets you turn ordinary shots into visually stunning, cinematic images.
✅ Want to try cinematic color grading today?
Download your free trial of Adobe Lightroom and bring your photos to life with cinematic tones.