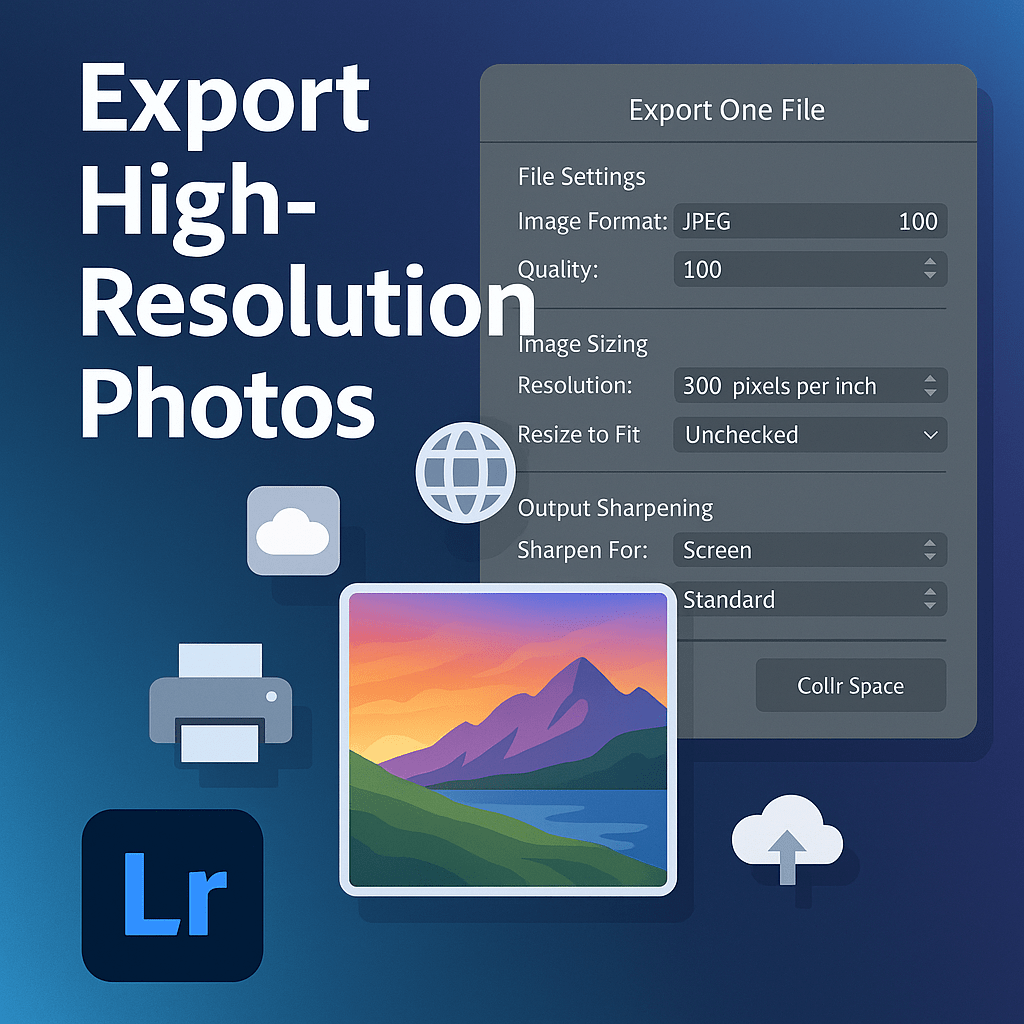
When exporting photos from Lightroom, maintaining maximum image quality is crucial—especially for print, client delivery, or portfolio work. The wrong export settings can lead to compression, color shifts, or blurry details. Here’s how to export high-resolution photos without losing quality.
Step 1: Choose the Right File Format
- TIFF → Best for print and archiving (no compression).
- JPEG → Standard for web and sharing (small file size but still high quality if set correctly).
- DNG → Keeps RAW flexibility for long-term storage.
Step 2: Set Resolution Correctly
- 300 dpi (dots per inch) → Print-quality standard.
- 72 dpi → Web use (but resizing dimensions matters more than dpi online).
Step 3: Image Sizing
- Uncheck “Resize to Fit” if you want full-size exports.
- For specific outputs:
- Print → Keep full resolution.
- Web → Resize longest edge to 1920px or 1080px.
Step 4: Output Sharpening
- Check “Sharpen For” → Choose Screen, Matte Paper, or Glossy Paper depending on output.
- Use Standard sharpening for general use.
Step 5: Color Space
- sRGB → Best for web and social media.
- Adobe RGB → Best for printing (if supported by lab).
- ProPhoto RGB → Advanced workflows, retains maximum color range.
Step 6: Quality Settings for JPEGs
- Set Quality to 100% for maximum fidelity.
- If file size is a concern, use 80–90% (near-identical quality, smaller size).
Final Thoughts
By exporting with the right format, resolution, and sharpening, you’ll preserve detail and ensure your images look stunning whether viewed online or printed large. Lightroom makes it easy to save export presets so you never lose quality again.
✅ Want to export high-quality photos today?
Start your free trial of Adobe Lightroom and unlock professional-grade export options for print, web, and client delivery.