Product photography is all about clarity, accuracy, and visual appeal. Lightroom gives photographers the tools to make products look professional and consistent—whether for e-commerce, catalogs, or marketing campaigns.
Step 1: Correct White Balance
- Use the White Balance Selector to ensure accurate colors.
- Aim for a neutral background—whites should look pure, not yellow or blue.
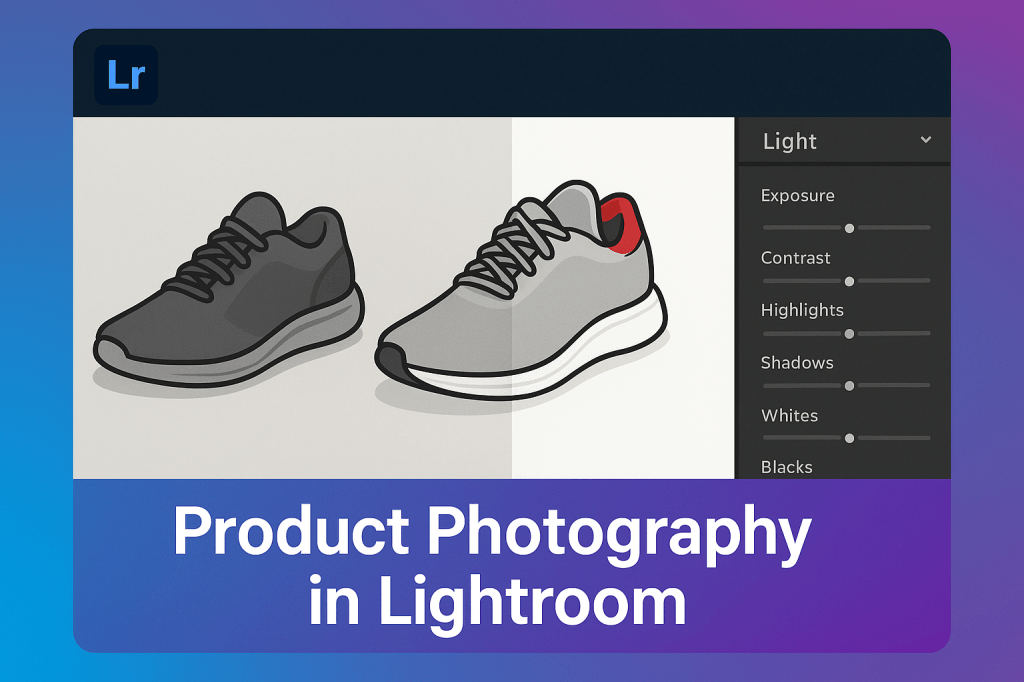
Step 2: Adjust Exposure & Contrast
- Increase Exposure slightly for bright, clean looks.
- Add Contrast to define edges and make products pop.
- Use Blacks and Whites to balance tonal range.
Step 3: Fine-Tune Colors
- Use the HSL panel to correct product colors—accuracy is critical for e-commerce.
- Desaturate distracting background colors.
- Keep product colors bold and true to life.
Step 4: Use Local Adjustments
- Apply a Radial Filter or Brush Tool to brighten products while leaving backgrounds neutral.
- Use Spot Removal to clean dust or imperfections.
Step 5: Sharpening & Clarity
- Increase Clarity slightly for texture.
- Apply Sharpening to highlight product details.
- Use Noise Reduction if shooting at high ISO.
Step 6: Export for Web & Print
- Web → JPEG, sRGB, 1080–2000px on the long edge.
- Print → TIFF or high-quality JPEG, Adobe RGB, 300 dpi.
Pro Tips
- Shoot with consistent lighting for easy batch editing.
- Create Lightroom presets for your product photography workflow.
- Use Virtual Copies for alternate background edits (white vs lifestyle shots).
Final Thoughts
Lightroom helps product photographers deliver clean, accurate, and professional images that make products stand out. With proper workflow, you’ll create polished shots ready for e-commerce or print.
✅ Want to perfect your product photography?
Start your free trial of Adobe Lightroom today and unlock precise editing tools for professional results.