Lightroom offers two ways to adjust color creatively: Split Toning (older tool) and Color Grading (modern replacement). While they share similarities, they work differently—and knowing the difference will help you make the most of Lightroom’s color tools.
What Was Split Toning?
Split Toning allowed photographers to add one color tint to highlights and another to shadows. It was simple but limited.
Example Uses:
- Warm highlights with cool shadows (classic cinematic look).
- Sepia tone effects for vintage photos.
What Is Color Grading?
Color Grading replaced Split Toning in recent versions of Lightroom. It offers more flexibility and control.
Features of Color Grading:
- Three Wheels → Adjust colors separately for shadows, midtones, and highlights.
- Global Control → Tint the entire image.
- Luminance Slider → Adjust brightness for each tonal range.
- More subtle and professional results compared to Split Toning.
Split Toning vs Color Grading: Side by Side
| Feature | Split Toning | Color Grading |
|---|---|---|
| Control | Only highlights + shadows | Shadows, midtones, highlights, global |
| Precision | Limited | Very precise |
| Creative Options | Basic | Extensive |
| Availability | Legacy tool (older versions) | Current Lightroom versions |
Pro Tips for Color Grading
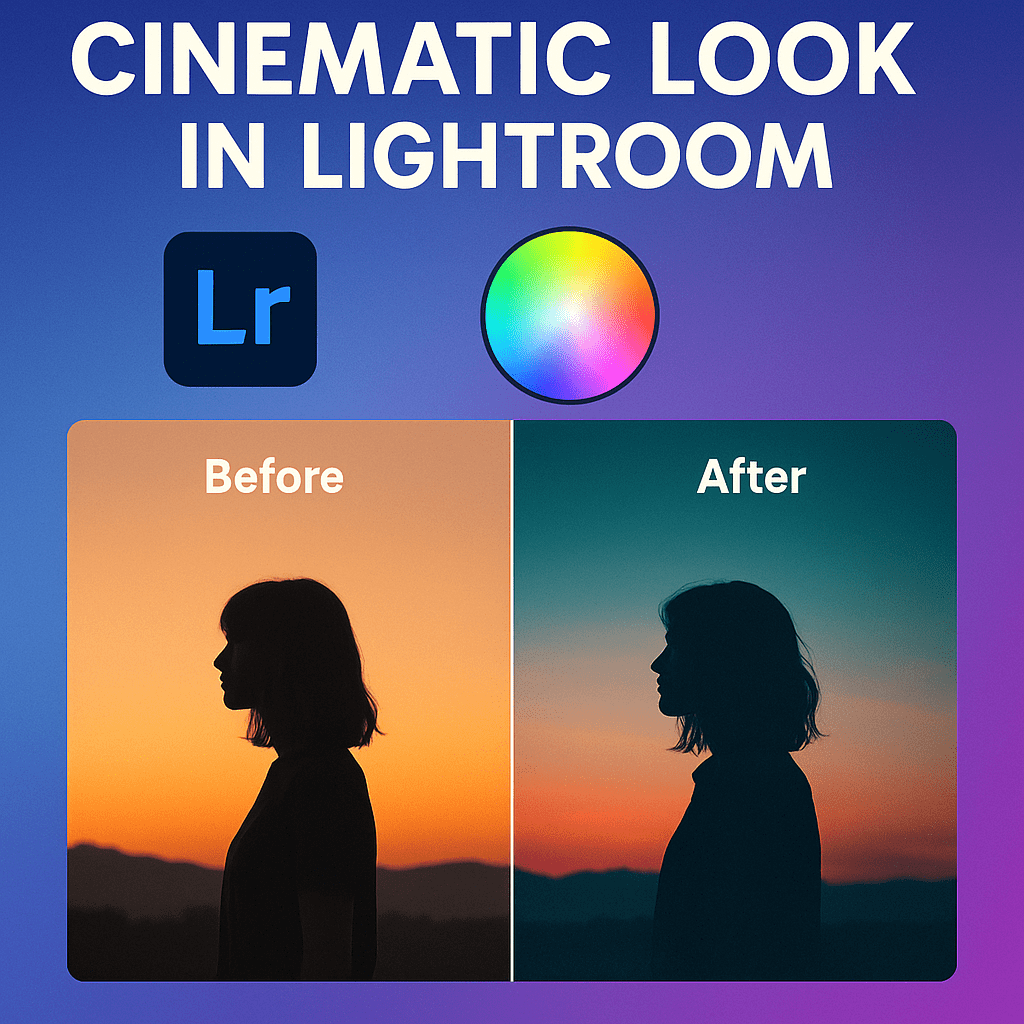
- Use teal shadows + orange highlights for cinematic edits.
- Warm midtones for natural skin tones.
- Experiment with global grading for stylized looks.
- Combine with Tone Curve for dramatic results.
Final Thoughts
Split Toning was a great start, but Color Grading offers professional-level control for modern photographers. If you want to create cinematic, vintage, or moody edits, Color Grading is your go-to tool.
✅ Want to try Color Grading today?
Start your free trial of Adobe Lightroom and unlock advanced creative control over your images.