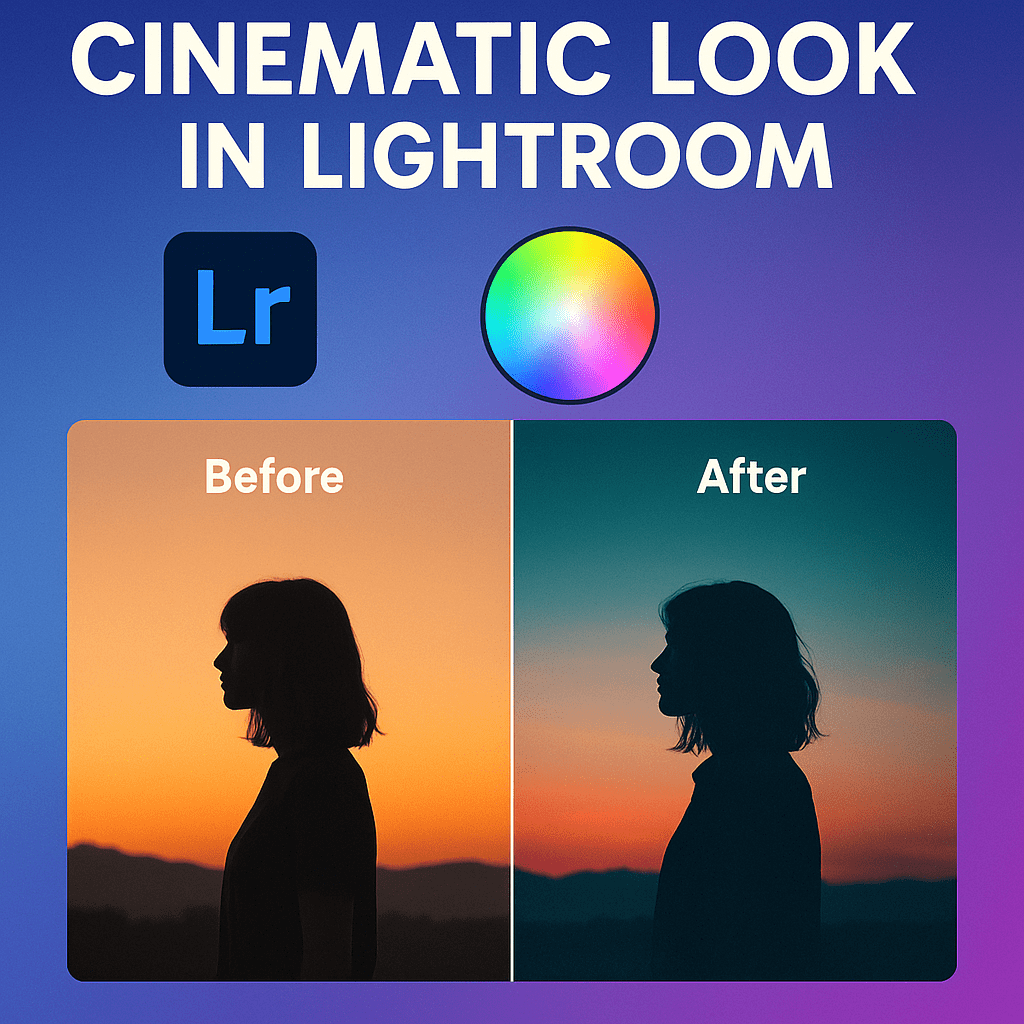
Film grain is a timeless effect that adds texture, character, and mood to digital photos. Whether you’re going for a retro analog feel or adding subtle grit to portraits, Lightroom’s grain tool makes it easy to replicate the look of classic film.
Why Add Film Grain?
- Authenticity → Gives digital photos a nostalgic, analog look.
- Texture → Adds depth to flat digital images.
- Mood → Creates atmosphere in portraits, street photography, and black & white edits.
- Consistency → Helps unify digital and film photography styles.
How to Add Film Grain in Lightroom
- Open your photo in the Develop Module.
- Scroll to the Effects Panel.
- Adjust the Grain Sliders:
- Amount → Controls intensity of grain.
- Size → Adjusts how large the grain particles appear.
- Roughness → Controls irregularity (smooth vs gritty).
Recommended Film Grain Settings
- Subtle Grain (Portraits) → Amount: 15, Size: 20, Roughness: 40.
- Vintage Film Look → Amount: 30, Size: 25, Roughness: 60.
- Strong Grit (Street/Documentary) → Amount: 50+, Size: 30+, Roughness: 70+.
Pro Tips
- Combine with Black & White editing for a classic analog effect.
- Add a matte finish via Tone Curve to enhance vintage vibes.
- Keep grain subtle for modern portraits—too much can look distracting.
- Use presets with built-in grain for quick consistency.
Final Thoughts
Film grain transforms sterile digital files into organic, character-rich images. Lightroom makes it easy to experiment—just a few slider tweaks can give your photos that timeless, film-inspired feel.
✅ Want to add film grain to your photos?
Start your free trial of Adobe Lightroom and recreate the beauty of vintage film with modern editing tools.


