The cinematic look is one of the most popular editing styles in photography. Inspired by film and movies, it uses rich colors, deep contrast, and subtle tones to give photos a dramatic, story-like feel. Lightroom makes it easy to recreate this style with just a few adjustments.
Step 1: Start with Basic Adjustments
- Lower Exposure slightly for mood.
- Reduce Highlights to recover detail in skies.
- Lift Shadows to bring out subject detail.
- Adjust Contrast for depth.
Step 2: Tone Curve for Drama
- Create a subtle S-Curve for stronger contrast.
- Lift the blacks slightly for a matte, film-like effect.
- Lower the highlights for cinematic softness.
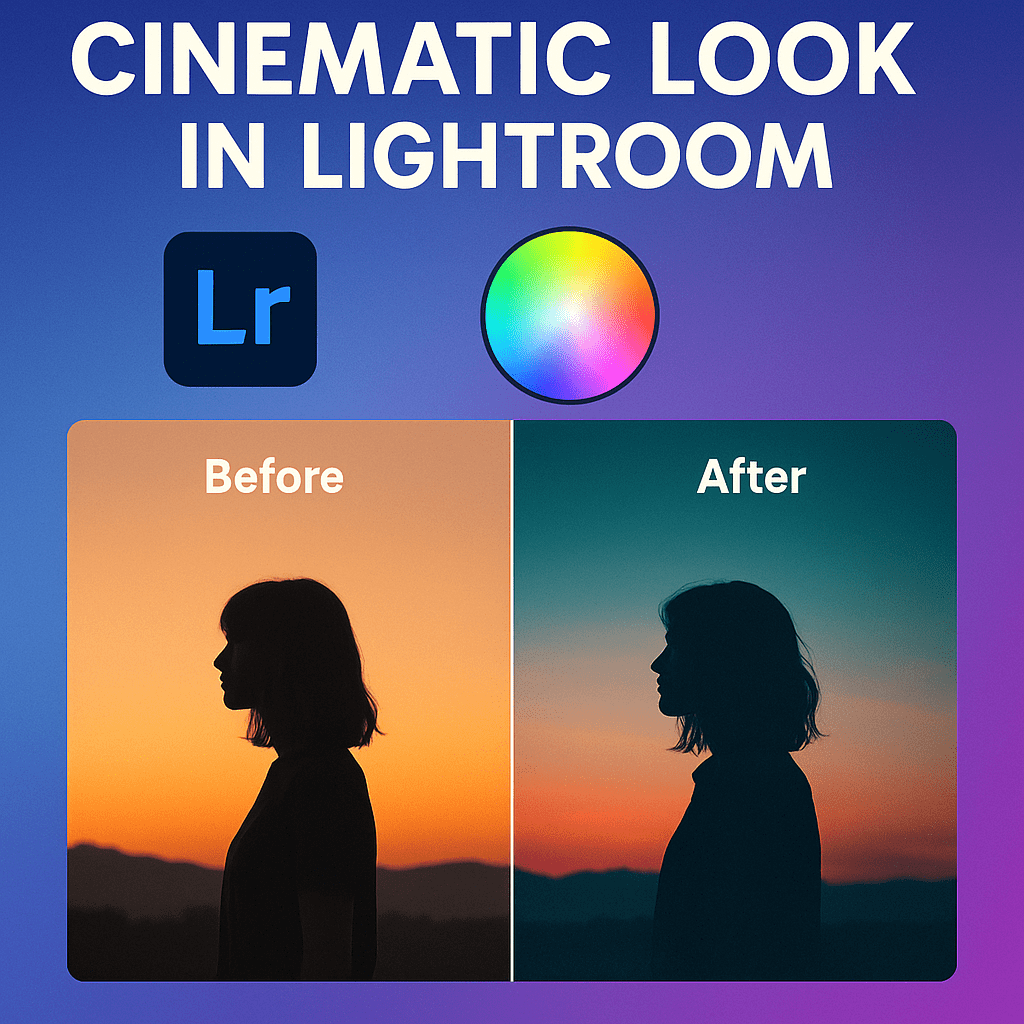
Step 3: Color Grading
- Add teal tones to shadows.
- Add warm orange tones to highlights.
- Keep midtones neutral to balance the look.
👉 This “teal and orange” combo is the hallmark of cinematic color.
Step 4: Add Vignette and Grain
- Apply a slight Vignette to draw attention to the subject.
- Add Film Grain for a cinematic, textured finish.
Step 5: Use Profiles or Presets
- Try Adobe Color or custom cinematic presets for a strong starting point.
- Fine-tune sliders for your unique style.
Pro Tips
- Shoot in RAW to maximize flexibility.
- Keep saturation balanced—cinematic looks often favor muted, controlled colors.
- Apply local adjustments (masking) to enhance the subject or darken backgrounds.
Final Thoughts
The cinematic look adds mood and storytelling power to your photos. With Lightroom’s tone curve, color grading, and finishing tools, you can give any image the drama of the big screen.
✅ Want to try cinematic editing today?
Start your free trial of Adobe Lightroom and experiment with cinematic presets, color grading, and tone curves.


