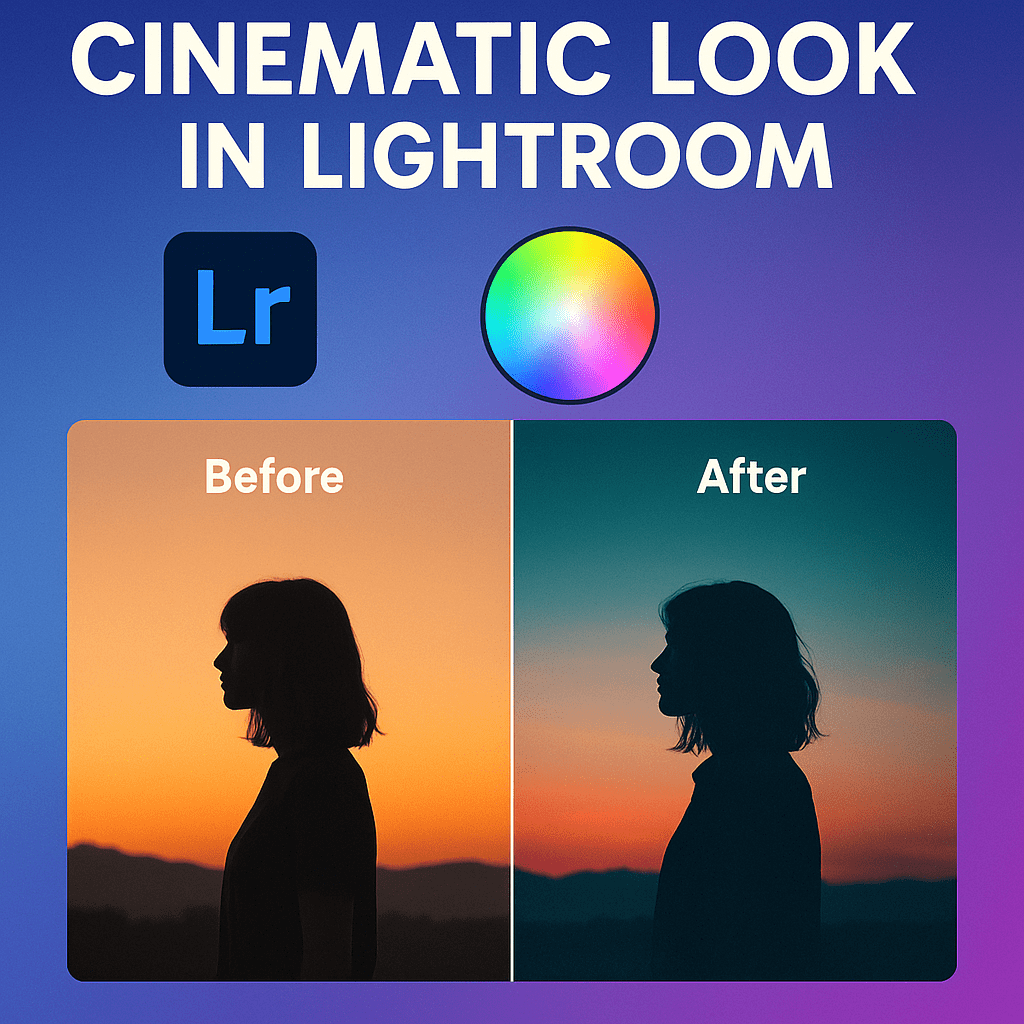
HDR merging is a popular feature in Lightroom, but you don’t always need multiple exposures to achieve the high dynamic range effect. With the right adjustments, you can simulate HDR from a single RAW file and bring out stunning details in shadows and highlights.
Why Create HDR-Like Effects?
- More Detail → Recover both shadow and highlight information.
- Balanced Exposure → Perfect for landscapes, architecture, and interiors.
- Dramatic Look → Adds depth, contrast, and vividness without over-editing.
Step 1: Start with a RAW File
RAW files contain far more data than JPEGs, making them ideal for HDR-like edits.
Step 2: Basic Panel Adjustments
- Lower Highlights → Pull back bright skies.
- Increase Shadows → Recover dark areas.
- Adjust Whites and Blacks → Add balanced contrast.
- Boost Clarity & Texture → Enhance detail without oversharpening.
Step 3: Use the Tone Curve
- Add a subtle S-Curve to boost contrast.
- Lift shadows slightly for balance.
- Keep highlights controlled to avoid clipping.
Step 4: Local Adjustments with Masks
- Use Select Sky → Darken skies for dramatic effect.
- Use Select Subject → Brighten the main subject.
- Apply a Radial Gradient for added depth.
Step 5: Enhance with Color Grading
- Add warmth to highlights and cool tones to shadows.
- Keep saturation moderate to avoid the “overcooked HDR” look.
Pro Tips
- Avoid overdoing clarity and saturation—this can make the photo look unnatural.
- Use subtle vignettes to guide the viewer’s eye.
- Compare before/after often to ensure balance.
Final Thoughts
Even without multiple exposures, Lightroom lets you create HDR-like photos full of life and detail. With careful adjustments, you can mimic HDR’s depth while keeping your edits natural and professional.
✅ Want to create HDR-style photos today?
Start your free trial of Adobe Lightroom and experiment with HDR-like effects using just a single RAW file.


