Moody edits are a favorite among photographers who want to create atmosphere, drama, and emotion in their photos. With Lightroom, you can transform ordinary images into cinematic, storytelling pieces by using darker tones, muted colors, and contrast.
Step 1: Start with Exposure & Contrast
- Lower Exposure slightly to darken the overall image.
- Increase Contrast to add depth.
- Drop Blacks for rich shadows.
- Raise Shadows carefully to retain detail.
Step 2: Desaturate for a Muted Look
- Reduce overall Saturation slightly.
- Use HSL sliders to selectively mute greens, yellows, or blues.
- Keep skin tones natural if editing portraits.
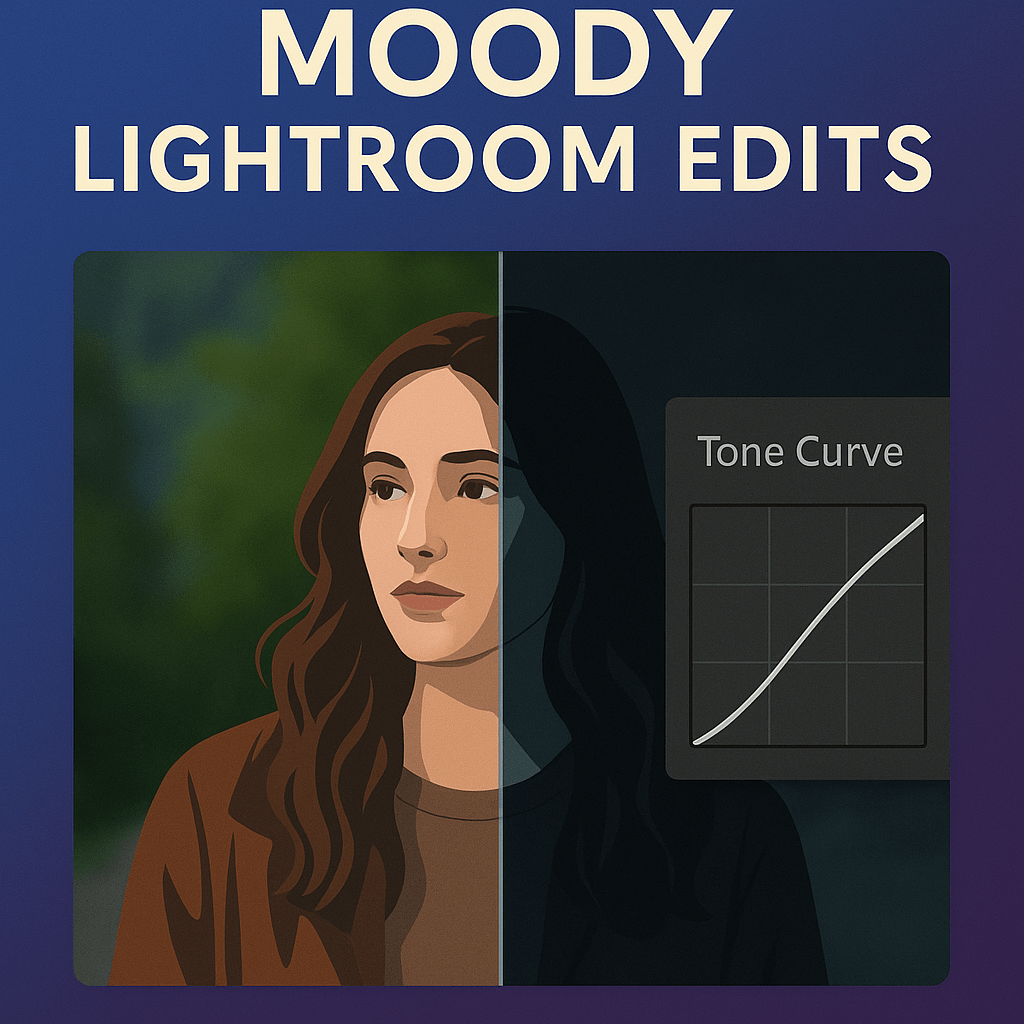
Step 3: Tone Curve for Mood
- Create a soft S-Curve.
- Lift the blacks for a matte, faded look.
- Lower highlights for softer tones.
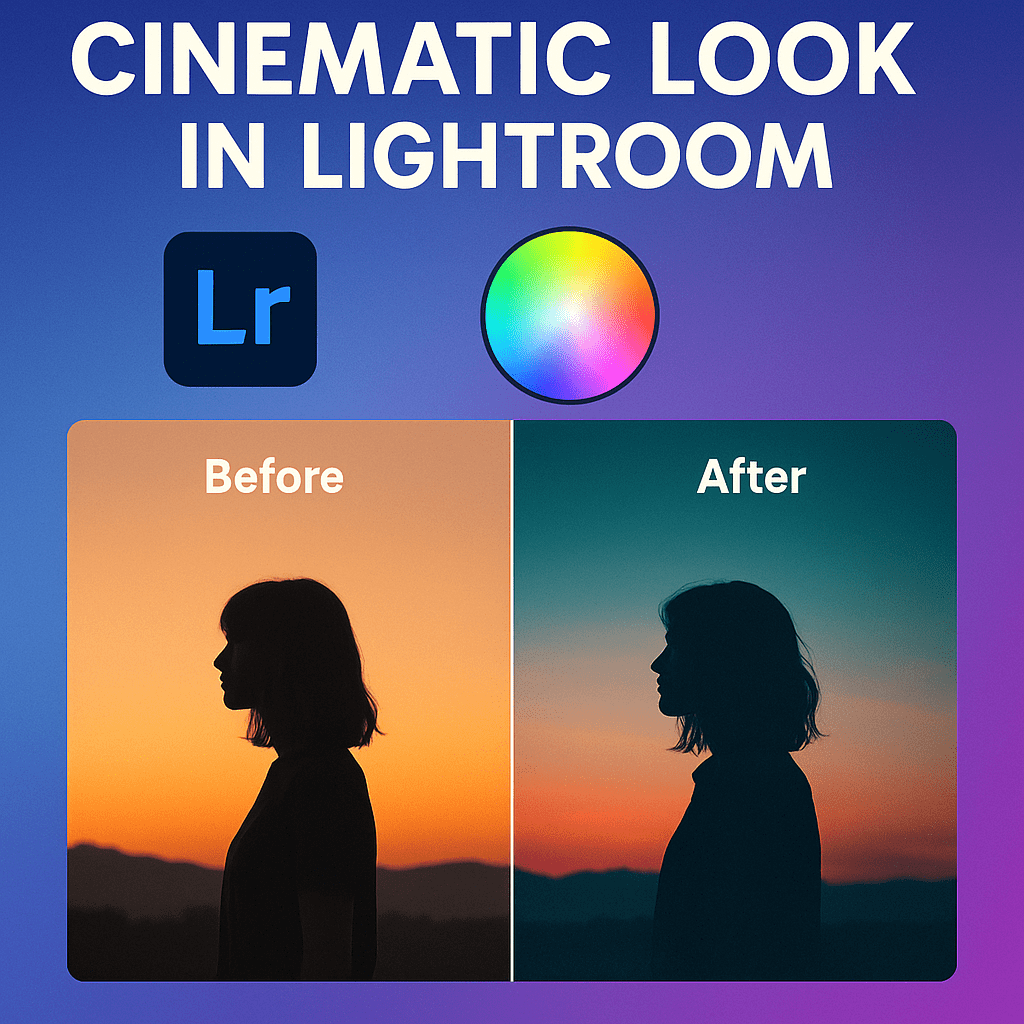
Step 4: Color Grading for Atmosphere
- Add cool tones (teal/blue) to shadows.
- Add warm tones (orange) to highlights.
- Balance midtones for realism.
Step 5: Add Vignette & Grain
- Apply a subtle Vignette to focus attention.
- Add Film Grain for texture and atmosphere.
Pro Tips
- Moody edits work well for portraits, landscapes, and street photography.
- Shoot in RAW for maximum flexibility.
- Use local adjustments (brushes/masks) to keep the subject visible while darkening the background.
Final Thoughts
Moody Lightroom edits create images with soul and atmosphere. By mastering contrast, muted colors, and cinematic grading, you can give your photos the emotional edge that draws viewers in.
✅ Want to try moody editing today?
Start your free trial of Adobe Lightroom and explore creative styles with presets, tone curves, and color grading.