Instagram is one of the most popular platforms for photographers, but exporting photos from Lightroom for Instagram requires the right settings. If not, your images can look blurry, pixelated, or compressed. Here’s how to export photos directly to Instagram in the best quality.
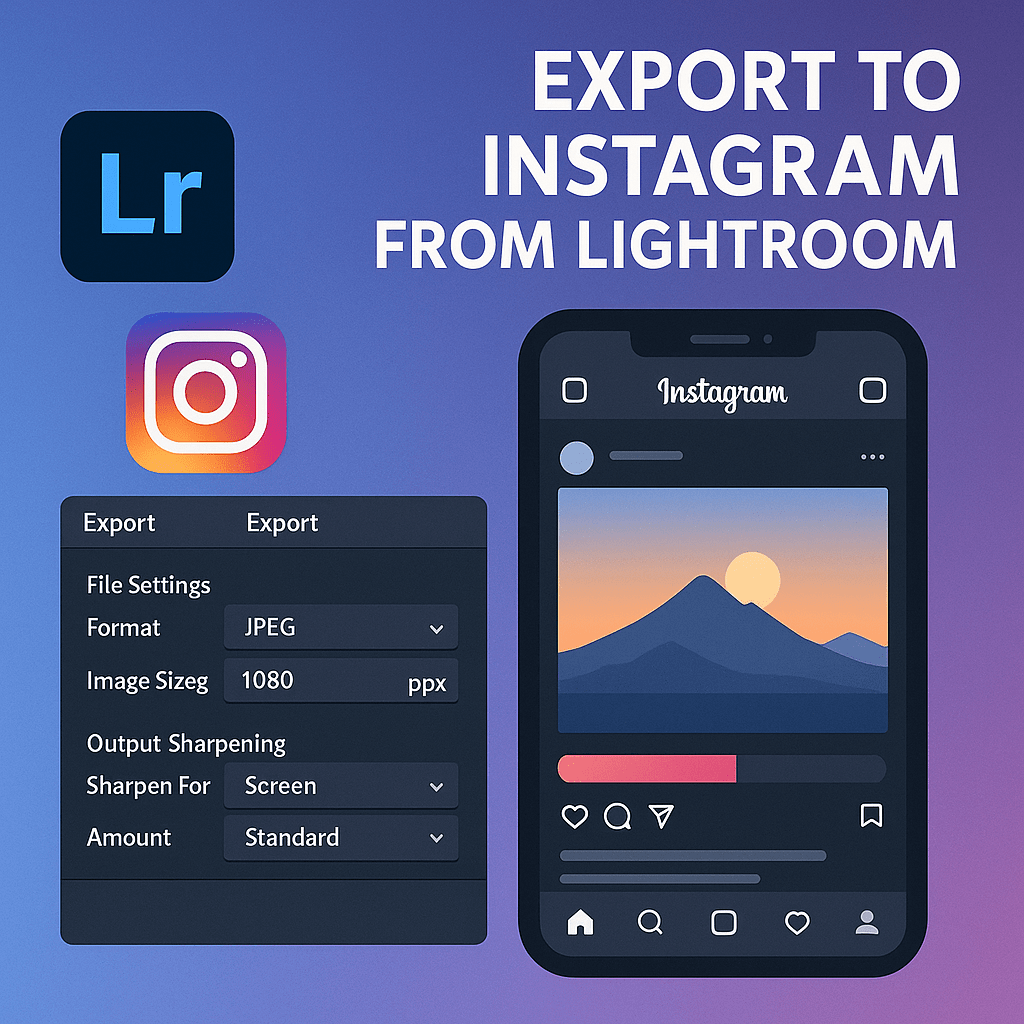
Step 1: Choose the Correct File Settings
- File Type: JPEG
- Color Space: sRGB (Instagram only supports sRGB)
- Quality: 80–85% (great balance between file size and quality)
Step 2: Set Image Dimensions for Instagram
Instagram compresses images automatically, but sticking to recommended sizes ensures the best results:
- Square (1:1) → 1080 x 1080 px
- Portrait (4:5) → 1080 x 1350 px
- Landscape (16:9) → 1080 x 608 px
⚡ Tip: Use Resize to Fit → Short Edge = 1080 px in Lightroom for Instagram-perfect exports.
Step 3: Apply Output Sharpening
- Enable Sharpen For: Screen.
- Set amount to Standard for crisp, professional detail.
Step 4: Export and Transfer to Mobile
- Export from Lightroom Classic to a local folder.
- Sync with Lightroom Mobile via Creative Cloud, or manually transfer via AirDrop, Google Drive, or Dropbox.
- Post directly from your phone to Instagram.
Step 5: Automate with Export Presets
Save your Instagram export settings as a preset so you don’t have to re-enter them every time.
Final Thoughts
With the right Lightroom export settings, your Instagram photos will look sharp, vibrant, and professional—just as you intended.
✅ Want to perfect your Instagram workflow?
Start your free trial of Adobe Lightroom today and export photos optimized for Instagram in seconds.